

14-Hole Tray — Sizes 3, 4 & 5
Load, spread, scrape, cap and release — the full routine on a 14-hole tray.
See the tray →How it works
Pick the tray that matches your capsule size, then watch the short clip. Set-up, fill, cap, release — start to finish.
Load, spread, scrape, cap and release — the full routine on a 14-hole tray.
See the tray →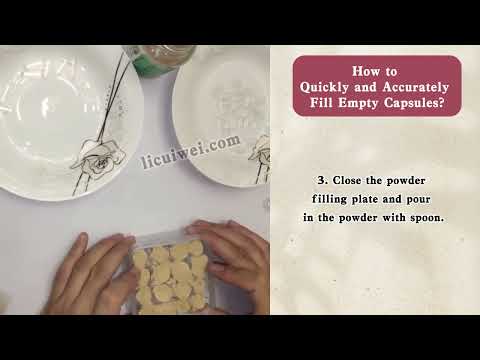
A quick walkthrough of the 16-hole tray built around size 0 capsules.
See the tray →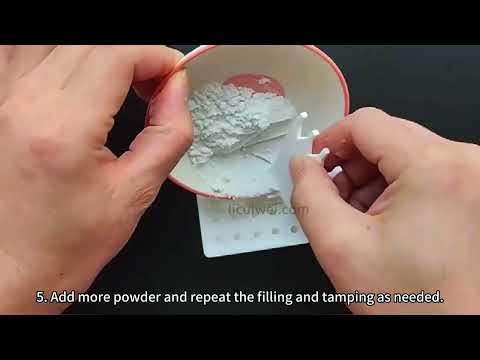
Same routine, slightly bigger batch — filling a 20-hole tray in one pass.
See the tray →
The all-rounder tray, shown end to end with sizes 000 through 1.
See the tray →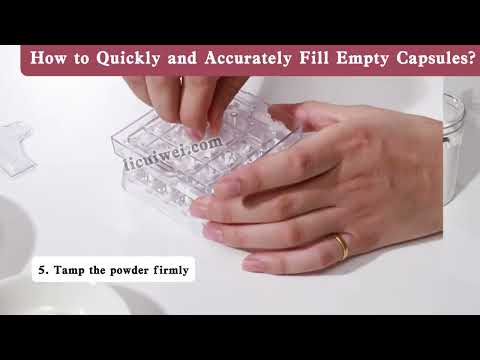
Filling a 25-hole tray across capsule sizes 00, 0, 1 and 2.
See the tray →
Working a 60-hole batch: load the bodies, level the powder, cap the plate.
See the tray →
The purple 100-hole tray, size 0 only — one full plate, start to finish.
See the tray →
The blue 100-hole tray takes every size from 000 to 5 — shown here step by step.
See the tray →
The black 100-hole tray for sizes 00 and 0, filling a full hundred capsules.
See the tray →